
Soundproofing Garage Walls For Music Studios

Learn about materials, techniques, and crucial considerations for optimal noise reduction.
Keywords: soundproof garage, music studio garage, soundproofing garage walls, garage soundproofing materials, soundproofing techniques, noise reduction garage, DIY garage studio, acoustic treatment garage, sound insulation garage, bass trapping garage, soundproof music studio, home recording studio soundproofing
Introduction:
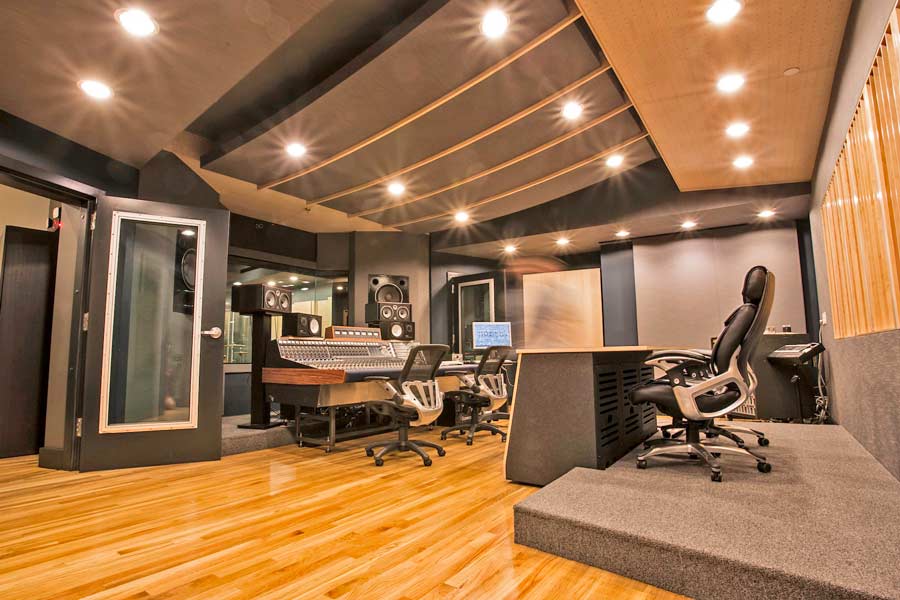
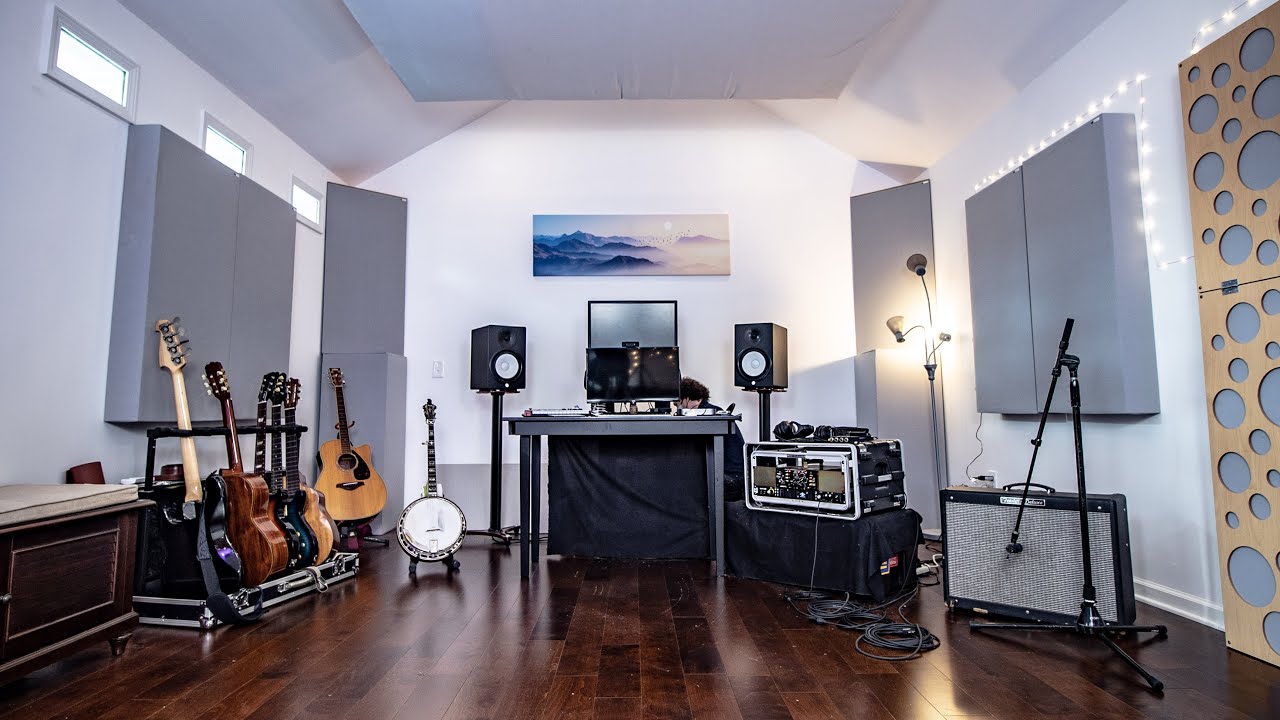
The rumble of a bass guitar, the crash of cymbals, the soaring vocals – the creative energy in a music studio is undeniable. But for aspiring musicians and seasoned professionals alike, the biggest hurdle can be the location. Many find themselves turning their garages into havens of musical creation. However, a garage, by its very nature, is far from acoustically ideal. It’s often constructed with thin walls, open spaces, and hard surfaces that reflect sound, leading to unwanted noise leakage and poor sound quality within the studio itself. This comprehensive guide will delve into the intricacies of soundproofing your garage walls to create a professional-sounding, noise-controlled environment perfect for recording, mixing, and practicing.
Table of Content
Understanding the Fundamentals of Soundproofing:
Before diving into specific materials and techniques, it’s crucial to understand the fundamental principles of soundproofing. Sound transmission isn’t a single process but a complex interplay of several factors:
- camping chair storage ideas
- Changing Garage Door Rollers: A Comprehensive Guide
- The Beauty and Durability of Iron Ore Garage Doors
- swing open garage door
- Marshfield Doors: The Perfect Choice for Your Home
-
Sound Absorption: This refers to the materials’ ability to absorb sound waves, reducing reflections and reverberation within the room. Materials like acoustic foam, bass traps, and thick carpets excel at sound absorption.

Sound Isolation: This involves preventing sound from escaping or entering the room. It’s achieved by creating a barrier that blocks sound waves. Dense materials like mass-loaded vinyl (MLV), drywall, and concrete are key players in sound isolation.
-
Sound Transmission Class (STC): This rating measures a material’s ability to block airborne sound. Higher STC ratings indicate better sound isolation.
-
Impact Sound Insulation: This addresses sound transmission through vibrations, such as footsteps or heavy machinery. Techniques like decoupling the floor and using resilient channels can significantly reduce impact noise.
Related Article Soundproofing garage walls for music studios
Phase 1: Assessing Your Garage and Defining Your Needs:
Before you begin, a thorough assessment of your garage is vital. Consider these factors:
-
Existing Structure: Examine the walls, ceiling, and floor for weaknesses. Are the walls thin? Are there gaps or cracks? The condition of your existing structure will significantly impact the effectiveness of your soundproofing efforts.
-
Noise Sources: Identify the primary sources of noise both inside and outside the garage. This will help you prioritize soundproofing strategies. Are you primarily concerned with noise leakage to the outside, or internal reverberation?
-
Budget and Timeline: Soundproofing can be a significant investment. Set a realistic budget and timeline to avoid unexpected delays or cost overruns. Consider prioritizing the most critical areas first.
-
Local Building Codes: Check with your local authorities to ensure your soundproofing plans comply with building codes and regulations.
Phase 2: Choosing the Right Materials:
The success of your soundproofing project hinges on selecting the right materials. Here’s a breakdown of popular options:
-
Mass-Loaded Vinyl (MLV): A dense, flexible material that effectively blocks sound transmission. It’s often used as a layer within wall constructions to increase the STC rating.
-
Drywall: Standard drywall provides some sound insulation, but multiple layers with staggered seams significantly improve performance. Consider using specialized sound-dampening drywall for optimal results.
-
Resilient Channels: These metal channels decouple the drywall from the studs, reducing sound transmission through vibrations.
-
Acoustic Foam: This porous material absorbs sound waves, reducing reflections and echoes within the room. Different thicknesses and densities are available to address various frequency ranges.
-
Bass Traps: These specialized acoustic panels effectively absorb low-frequency sounds (bass), which are notoriously difficult to control. Corner bass traps are particularly effective.
-
Green Glue: A damping compound applied between layers of drywall to further reduce vibrations and enhance sound isolation.
-
Mineral Wool/Fiberglass Insulation: While primarily used for thermal insulation, these materials also offer some sound absorption.
Phase 3: Implementing Effective Soundproofing Techniques:
Now, let’s delve into the practical aspects of soundproofing your garage walls:
-
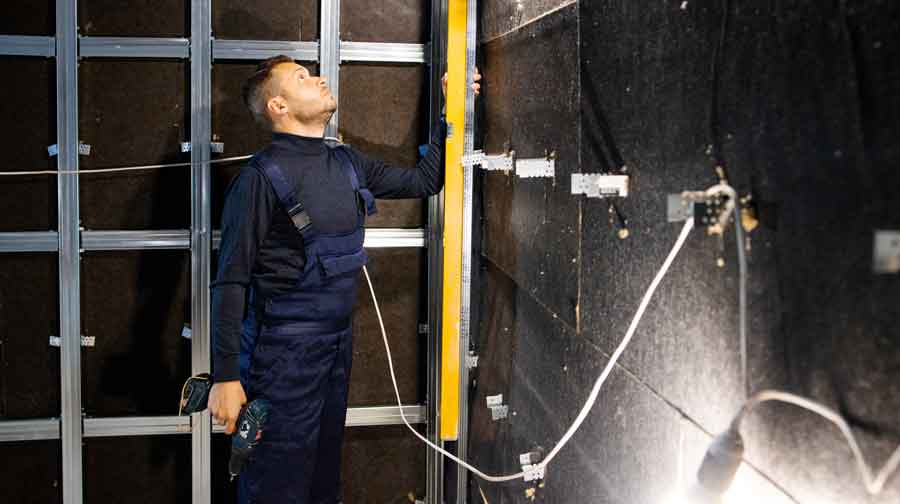
Wall Construction: The most effective approach is to create a double-wall system. This involves building a new wall within the existing structure, leaving an air gap between the two walls. This air gap significantly reduces sound transmission. Include layers of MLV, resilient channels, and multiple layers of drywall within this construction.
-
Door Soundproofing: Garage doors are notorious for sound leakage. Replace your existing door with a solid-core door and add weatherstripping to seal any gaps. Consider a second door for added sound isolation.
-
Window Soundproofing: Similar to doors, windows can be significant sources of noise leakage. Replace single-pane windows with double- or triple-pane windows with laminated glass. Alternatively, you can add soundproof window inserts.
-
Ceiling Soundproofing: Sound can easily transmit through the ceiling. Similar to walls, consider adding a suspended ceiling with sound-absorbing materials like mineral wool or acoustic tiles.
-
Floor Soundproofing: If noise from below is a concern, consider adding a floating floor. This involves decoupling the floor from the subfloor using resilient underlayment.
Phase 4: Acoustic Treatment for Optimal Sound Quality:
Soundproofing focuses on blocking sound transmission, while acoustic treatment focuses on optimizing the sound within the room. This is crucial for recording and mixing:
-
Acoustic Panels: Strategically place acoustic panels on walls and ceilings to absorb reflections and reduce reverberation.
-
Bass Traps: As mentioned earlier, bass traps are essential for managing low-frequency sounds. Place them in corners for maximum effectiveness.
-
Diffusion: Diffusers scatter sound waves, preventing unwanted echoes and creating a more natural-sounding environment.
Phase 5: Testing and Refinement:
Once your soundproofing and acoustic treatment are complete, test the effectiveness of your efforts. Use a sound level meter to measure noise levels both inside and outside the studio. Identify any remaining weak points and make adjustments as needed. This iterative process is crucial for achieving optimal results.
Advanced Soundproofing Techniques:
For extremely demanding applications, consider these advanced techniques:
-
Decoupling: Completely separating the structure of your studio from the existing garage structure can drastically improve sound isolation.
-
Vibration Isolation: Use vibration isolation mounts for equipment to prevent sound transmission through vibrations.
-
Room-within-a-Room Construction: Building a completely independent room within the garage offers the highest level of sound isolation.
Conclusion:
Soundproofing a garage for a music studio is a multifaceted project that requires careful planning and execution. By understanding the fundamentals of soundproofing, selecting appropriate materials, and implementing effective techniques, you can transform your garage into a professional-sounding space that allows you to create and record music without disturbing your neighbors or compromising sound quality. Remember that a phased approach, starting with the most critical areas and gradually refining your setup, will lead to the best results and maximize your budget. Don’t hesitate to consult with acoustic professionals for personalized advice and guidance. Your dream studio awaits!


