
How To Replace Cabinet Drawer Slides Quietly

This comprehensive guide covers choosing the right slides, installation techniques, and troubleshooting tips for a seamless upgrade.
Keywords: cabinet drawer slides, replace drawer slides, quiet drawer slides, cabinet repair, DIY cabinet repair, undermount drawer slides, side mount drawer slides, soft close drawer slides, drawer slide installation, noisy drawers, fixing noisy drawers, cabinet upgrade, kitchen upgrade, home improvement, DIY home improvement
Introduction:
The rhythmic clatter of noisy drawers can be a constant irritant in an otherwise peaceful home. This jarring sound, often emanating from worn-out or poorly installed drawer slides, can significantly detract from the overall kitchen experience. Fortunately, replacing cabinet drawer slides is a manageable DIY project that can dramatically improve both the functionality and the aesthetic appeal of your kitchen cabinets. This comprehensive guide will equip you with the knowledge and techniques to tackle this upgrade quietly and efficiently, transforming your kitchen from a noisy hub to a serene sanctuary.
Table of Content
Part 1: Assessing the Situation and Choosing the Right Slides
Before you even reach for your toolbox, careful assessment is crucial. This involves identifying the type of slides you currently have and determining the best replacements for your needs and budget.
1. Identifying Your Existing Slides:
Related Article How to replace cabinet drawer slides quietly
- What Color Floor Goes with Gray Cabinets: A Comprehensive Guide
- What Color Cabinets Go with Fantasy Brown Granite?
- white cabinets with brown granite
- Gray Cabinets with Black Hardware
- Backsplash with Cherry Cabinets
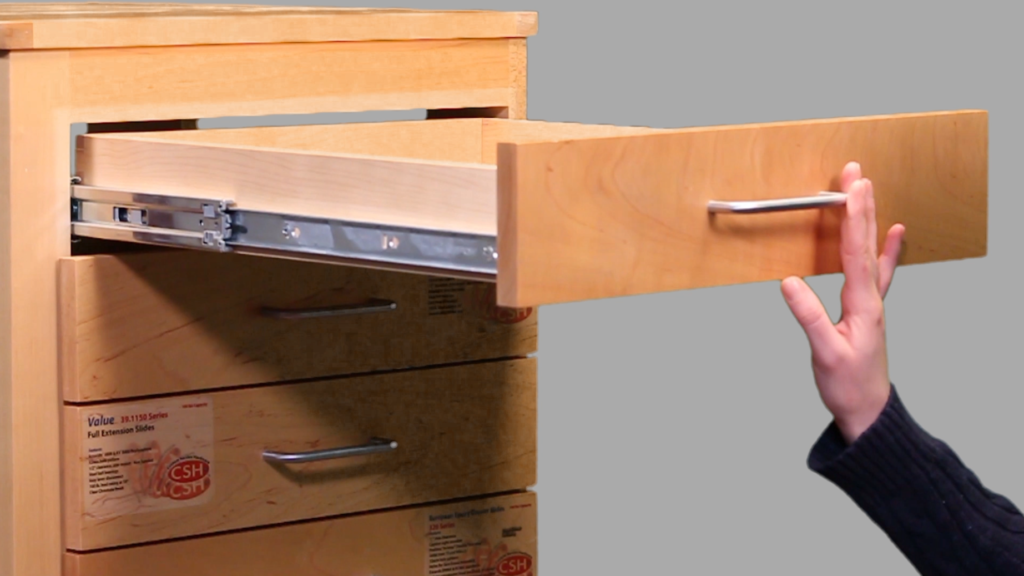
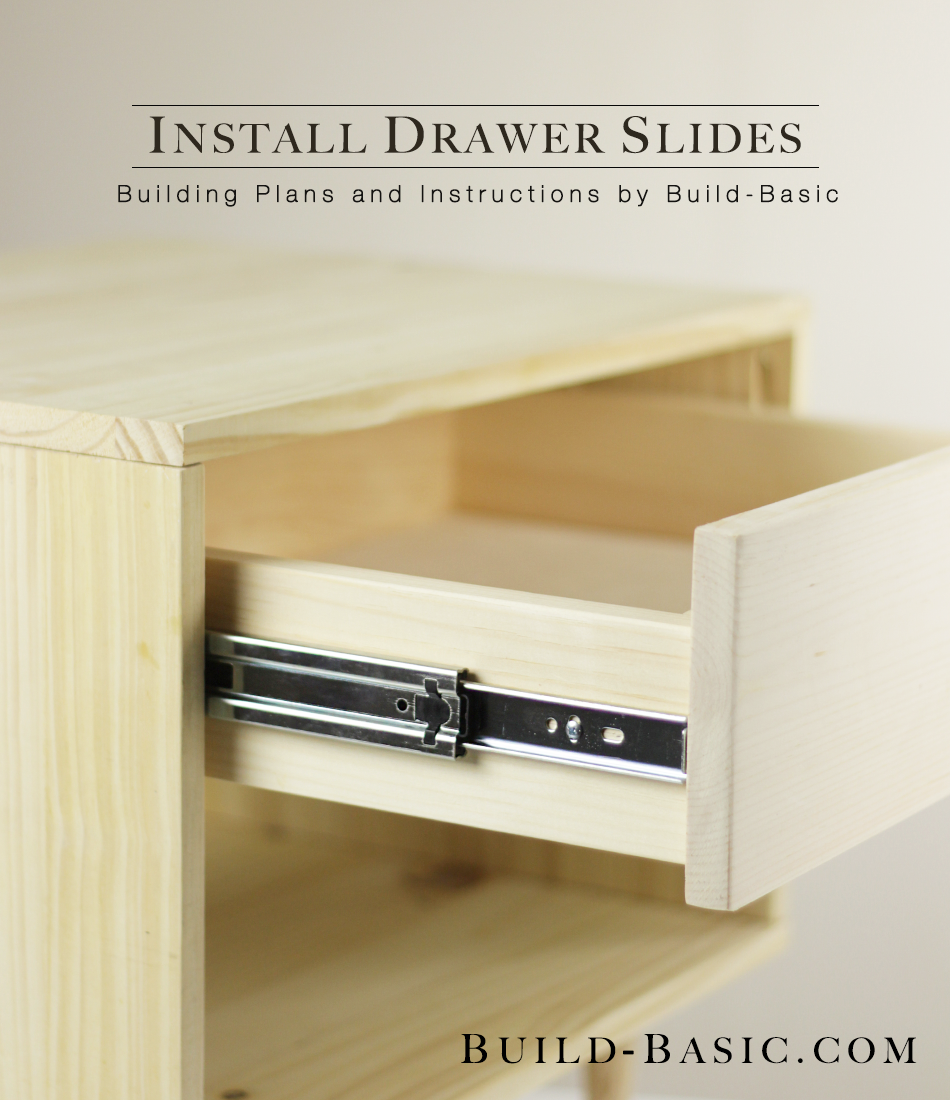
- Side-Mount Slides: These are the most common type, attaching to the sides of the drawer box and the cabinet sides. They are usually inexpensive and relatively easy to install.
- Undermount Slides: These slides attach to the bottom of the drawer box and the inside of the cabinet. They offer a cleaner, more integrated look, as the slides are hidden from view.
- Full-Extension Slides: These slides allow the drawer to extend fully, providing complete access to the contents.
- Partial-Extension Slides: These slides only allow the drawer to extend partially, making them suitable for shallower cabinets or those with limited space.
- Soft-Close Slides: These slides incorporate a dampening mechanism that ensures the drawer closes slowly and quietly, eliminating the slamming sound. This is often the key to achieving the quiet operation you desire.

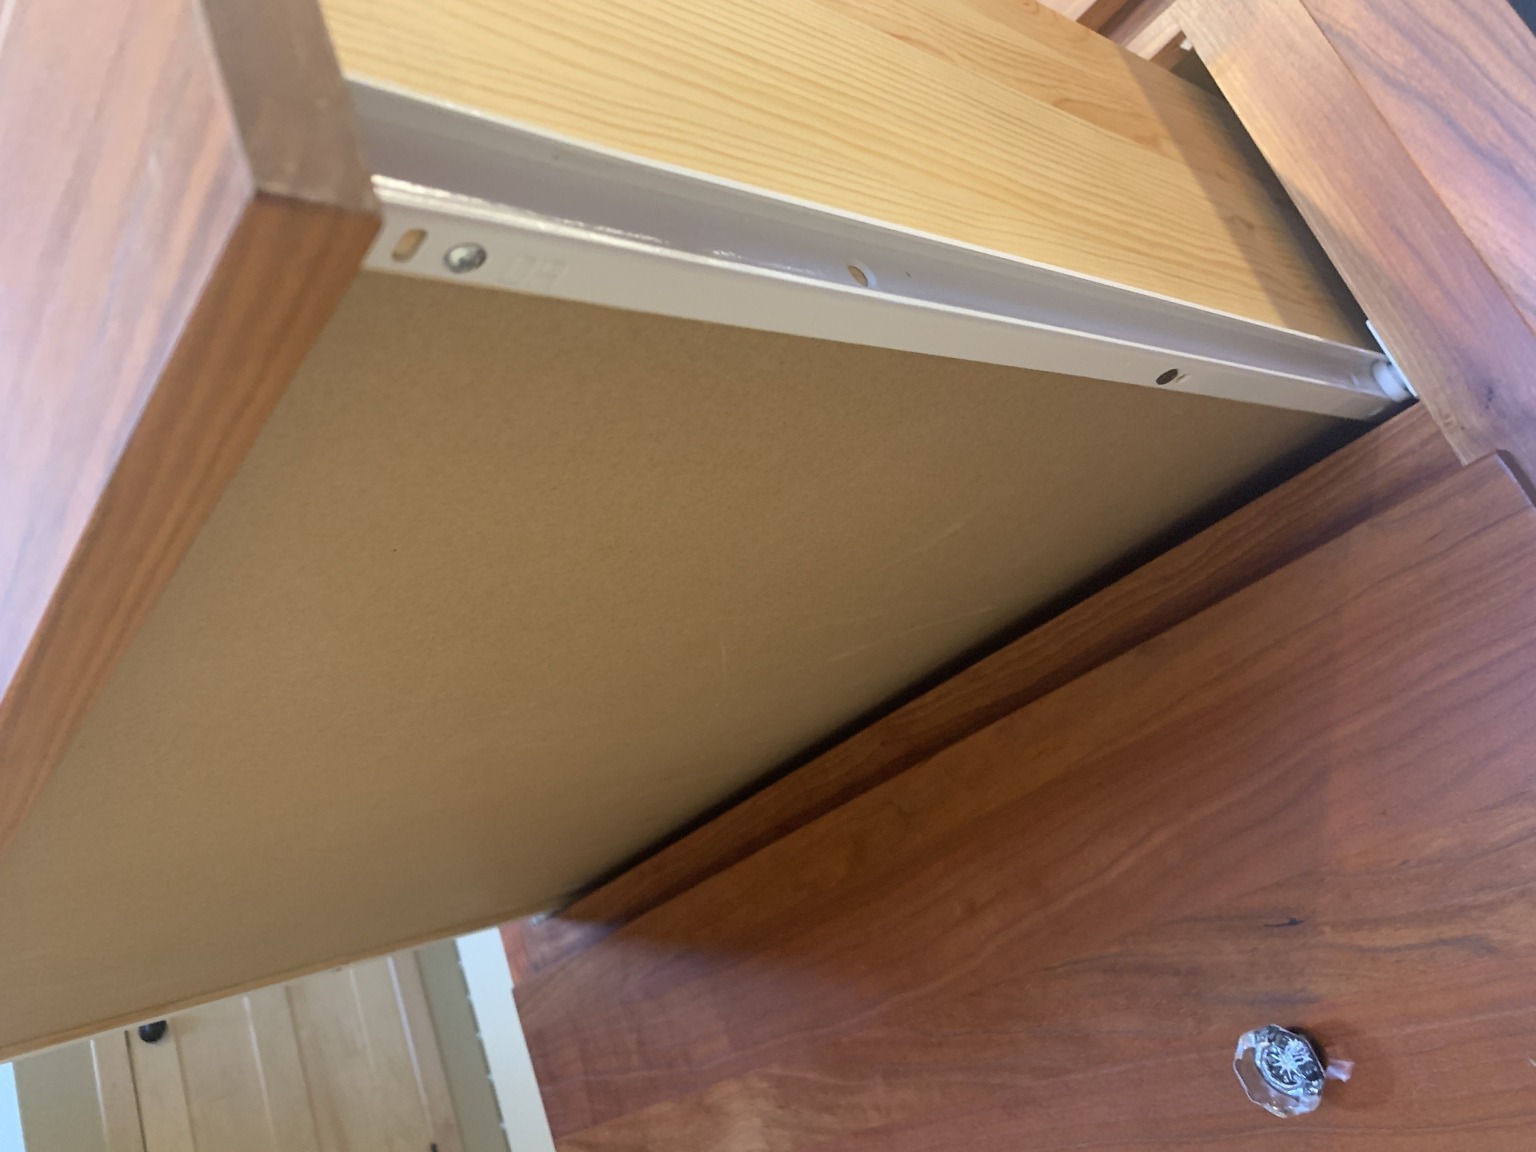
Carefully examine your existing slides to determine their type and measurements. Take precise measurements of the drawer opening and the drawer box itself. Note the mounting hole spacing and overall length of the slides. This information is essential for selecting the appropriate replacements. Taking photos can be incredibly helpful during this process.
2. Selecting Replacement Slides:
Consider these factors when choosing your new slides:
- Type: If you’re aiming for quiet operation, soft-close slides are a must. They offer superior performance and significantly reduce noise.
- Weight Capacity: Choose slides with a weight capacity that exceeds the weight of your fully loaded drawer. Underestimating this can lead to premature wear and tear.
- Extension: Full-extension slides are generally preferred for better accessibility, but partial-extension slides can be suitable for lighter drawers or space-constrained cabinets.
- Material: Steel slides are durable and reliable, while wood slides offer a more traditional aesthetic.
- Mounting: Ensure the new slides are compatible with your existing cabinet and drawer construction. Side-mount slides are generally more versatile.
- Budget: Prices vary considerably depending on the type, features, and brand. Set a budget beforehand to guide your selection.
Part 2: Gathering Tools and Materials
Having the right tools and materials on hand will make the installation process smoother and more efficient. Here’s a comprehensive list:
- New Drawer Slides: Ensure you purchase the correct type, size, and quantity based on your assessment.
- Screwdriver: You’ll likely need both Phillips and flathead screwdrivers, possibly in various sizes.
- Drill: A cordless drill with various drill bits will expedite the process.
- Measuring Tape: Accuracy is paramount for precise installation.
- Level: Ensuring the slides are level is crucial for smooth drawer operation.
- Pencil: For marking screw locations and other measurements.
- Safety Glasses: Always protect your eyes when working with tools.
- Work Gloves: Protect your hands from potential splinters or scratches.
- Wood Screws (if needed): Some installations may require additional screws.
- Spacer Blocks (if needed): These can be used to adjust the drawer height if necessary.
Part 3: The Step-by-Step Installation Process
This process outlines the general steps for replacing side-mount slides. The process for undermount slides is slightly different but follows similar principles. Always refer to the manufacturer’s instructions for your specific slides.
1. Removing the Old Slides:
- Carefully remove the drawer from the cabinet.
- Unscrew the old slides from both the drawer and the cabinet sides. Take note of the screw locations for easy reference during the installation of the new slides.
- Remove the old slides completely. Clean any debris or old adhesive from both the drawer and cabinet sides.
2. Installing the New Slides (Cabinet Side):
- Position the new slides on the cabinet sides, aligning them with the existing screw holes or using the manufacturer’s guidelines for placement.
- Secure the slides using the appropriate screws. Ensure the slides are level and firmly attached.
3. Installing the New Slides (Drawer Side):
- Position the new slides on the drawer sides, ensuring they align perfectly with the slides installed on the cabinet sides.
- Secure the slides using the appropriate screws. Again, ensure the slides are level and firmly attached.
4. Testing and Adjustments:
- Carefully insert the drawer into the cabinet.
- Test the drawer’s movement. It should glide smoothly and quietly. If not, check for any misalignment or interference.
- Make any necessary adjustments by slightly loosening and repositioning the slides.
Part 4: Troubleshooting and Maintenance
Even with careful installation, you might encounter some minor issues. Here are some common problems and their solutions:
- Drawer Binds: This often indicates misalignment. Check the level of the slides and make adjustments as needed.
- Drawer Sticks: Lubricate the slides with silicone-based lubricant or specialized drawer slide lubricant. Avoid using oil-based lubricants, as they can attract dust and debris.
- Drawer Doesn’t Close Completely: This could be due to misalignment or an obstruction. Check for any interference and readjust the slides accordingly.
- Noisy Operation (despite soft-close slides): Ensure all screws are tight and the slides are properly aligned. If the noise persists, contact the manufacturer for assistance.
Part 5: Advanced Techniques and Considerations
For more complex installations or specific cabinet designs, consider these advanced techniques:
- Cabinet Face Frame Adjustments: If your cabinet face frame is interfering with the drawer slides, you may need to make minor adjustments to the frame itself.
- Custom Cutting: In some cases, you might need to carefully cut or modify the drawer or cabinet to accommodate the new slides. This requires precision and the right tools.
- Specialized Tools: For certain types of slides or complex installations, specialized tools like a jig or a slide alignment tool might be beneficial.
Conclusion:
Replacing cabinet drawer slides is a rewarding DIY project that can significantly enhance the functionality and quietness of your kitchen. By following the steps outlined in this guide, you can transform your noisy drawers into smooth, silent gliding mechanisms, improving both the usability and the overall aesthetic appeal of your kitchen. Remember to prioritize safety, accuracy, and patience throughout the process. With careful planning and execution, you can enjoy a quieter, more efficient, and more satisfying kitchen experience for years to come. The quiet hum of a smoothly operating drawer is a testament to a job well done.


