How To Build Floor-to-ceiling Bookcase Cabinets

This comprehensive guide covers design, materials, tools, step-by-step instructions, and advanced techniques for a professional finish. Perfect for DIY enthusiasts!
Keywords: floor-to-ceiling bookcase, bookcase cabinets, DIY bookcase, custom bookcase, built-in bookcase, shelving units, woodworking project, cabinet construction, home improvement, storage solutions, advanced woodworking
Introduction:
Floor-to-ceiling bookcase cabinets offer unparalleled storage and aesthetic appeal, transforming any room from ordinary to extraordinary. While seemingly daunting, building these impressive pieces is achievable with careful planning, the right tools, and a methodical approach. This guide provides a detailed, step-by-step process for constructing your own custom floor-to-ceiling bookcase cabinets, catering to both intermediate and advanced DIY enthusiasts.
Table of Content
I. Planning & Design:
Before you even pick up a saw, meticulous planning is crucial. This phase determines the success and longevity of your project.
A. Measuring and Assessing the Space:
Related Article How to build floor-to-ceiling bookcase cabinets
- Waterproof Bathroom Vanity Cabinets For Humid Climates
- above fridge cabinet ideas
- backsplash with gray cabinets
- white cabinets tan granite
- Cherry Cabinets with Quartz Countertops: A Perfect Match for Your Kitchen
-
Accurate Measurements: Use a measuring tape to precisely determine the height, width, and depth of the intended space. Account for any irregularities in the walls or floor. Multiple measurements are recommended to ensure accuracy. Note any existing electrical outlets, pipes, or other obstructions that need to be considered in your design.
-
Doorway and Window Considerations: If your bookcase will be adjacent to a doorway or window, carefully measure the clearances required for easy opening and closing. Ensure the bookcase doesn’t impede these functionalities.
-
Structural Considerations: Assess the wall’s structural integrity. For very tall units, consider adding extra support using wall anchors or studs. Consult a structural engineer if you have any doubts about the wall’s load-bearing capacity.


B. Choosing the Right Materials:

Wood Selection: The choice of wood significantly impacts the bookcase’s durability, aesthetics, and cost. Popular options include:
- Hardwoods (e.g., oak, maple, cherry): Durable, beautiful, but more expensive.
- Softwoods (e.g., pine, fir): More affordable, but less durable and prone to dents.
- Plywood: A cost-effective and strong option, especially for shelves and cabinet sides. Consider using high-quality plywood with a good veneer for a better finish.
- MDF (Medium-Density Fiberboard): A smooth, paintable option, but less durable than wood.

-
Hardware: Select high-quality hardware for longevity and smooth operation. This includes:
- Hinges: Choose heavy-duty hinges designed for cabinet doors. Consider soft-close hinges for a premium feel.
- Drawer Slides: Opt for full-extension drawer slides for easy access to the contents.
- Shelf Supports: Select strong and adjustable shelf supports to accommodate varying shelf heights and book sizes.
- Screws: Use appropriate screws for the chosen wood type and thickness. Consider using wood glue in conjunction with screws for added strength.
C. Designing the Layout:
-
Shelf Spacing: Consider the average height of your books and other items to determine optimal shelf spacing. A mix of fixed and adjustable shelves adds versatility.
-
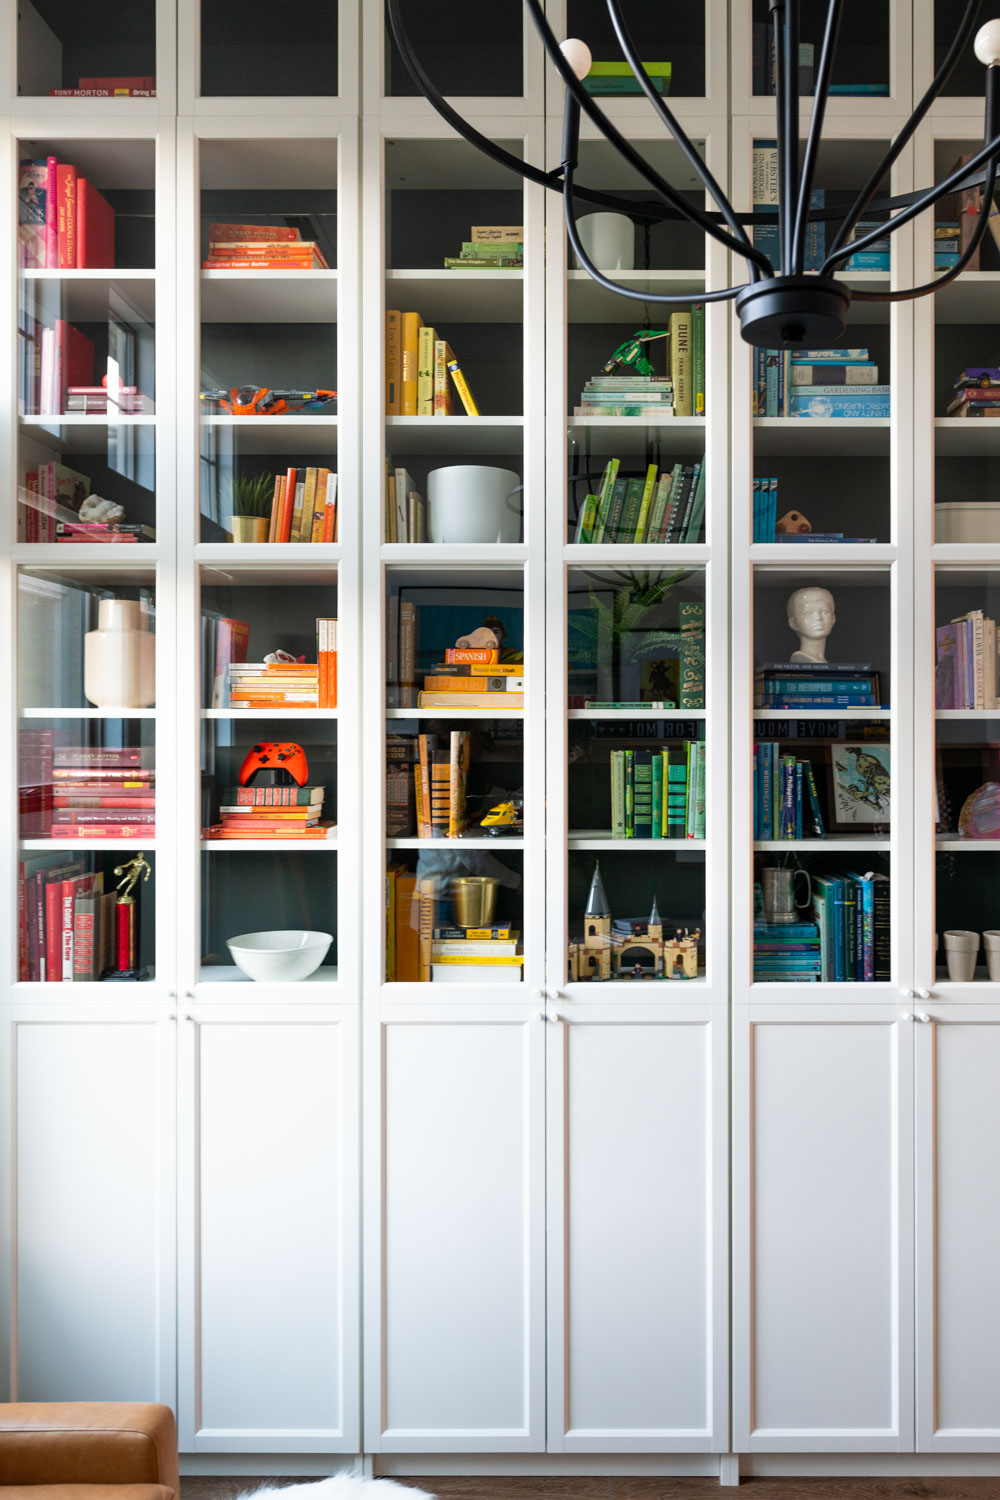
Cabinet Doors (Optional): Determine the number and size of cabinet doors, if desired. Consider incorporating glass doors for aesthetic appeal and to showcase decorative items.
-
Drawers (Optional): Include drawers for smaller items or accessories. Plan the drawer sizes and placement carefully.
-
Creating Detailed Drawings: Create detailed drawings of your bookcase, including dimensions, material specifications, and hardware placements. This will serve as your blueprint throughout the construction process. Software like SketchUp or AutoCAD can assist in creating professional-looking plans.
II. Tools and Equipment:
Having the right tools is essential for efficient and safe construction. Invest in quality tools whenever possible.
- Measuring Tools: Tape measure, square, level
- Cutting Tools: Circular saw, miter saw (recommended for precise cuts), hand saw (for detailed work)
- Drilling Tools: Drill with various drill bits, countersink bit
- Joinery Tools: Kreg Jig (for pocket hole joinery), clamps (various sizes), wood glue
- Finishing Tools: Sandpaper (various grits), random orbital sander, paintbrushes, rollers
- Safety Equipment: Safety glasses, hearing protection, dust mask
III. Construction Steps:
A. Building the Cabinet Sides and Back:
-
Cut the Wood: Cut the wood pieces for the cabinet sides and back according to your design. Use the miter saw for precise cuts, especially for angled pieces.
-
Assemble the Sides: Use pocket hole joinery or another strong joinery method to assemble the cabinet sides. Apply wood glue and clamp firmly until the glue dries.
-
Attach the Back: Attach the back panel using screws or nails. Ensure the back is flush with the sides.
B. Installing Shelves:
-
Cut Shelf Material: Cut the shelves to the desired dimensions.
-
Install Shelf Supports: Install shelf supports on the cabinet sides at the desired heights. Use a level to ensure that the shelves are perfectly horizontal.
-
Position Shelves: Place the shelves on the supports.
C. Constructing and Attaching Doors (Optional):
-
Cut Door Panels: Cut the wood panels for the cabinet doors.
-
Install Hinges: Attach hinges to the doors and the cabinet sides.
-
Install Door Handles: Attach door handles or knobs.
D. Building and Installing Drawers (Optional):
-
Cut Drawer Sides, Front, and Back: Cut the wood pieces for the drawer sides, front, and back.
-
Assemble Drawer Boxes: Assemble the drawer boxes using glue and screws.
-
Install Drawer Slides: Attach drawer slides to the drawer boxes and the cabinet sides.
-
Install Drawer Fronts: Attach the drawer fronts to the drawer boxes.
IV. Finishing Touches:
A. Sanding: Sand all surfaces smooth, starting with coarser grit sandpaper and gradually moving to finer grits. Pay attention to corners and edges.
B. Finishing: Apply a finish to protect the wood and enhance its appearance. Options include:
- Paint: Provides a durable and customizable finish.
- Stain: Enhances the natural wood grain.
- Polyurethane: Protects the wood from scratches and moisture.
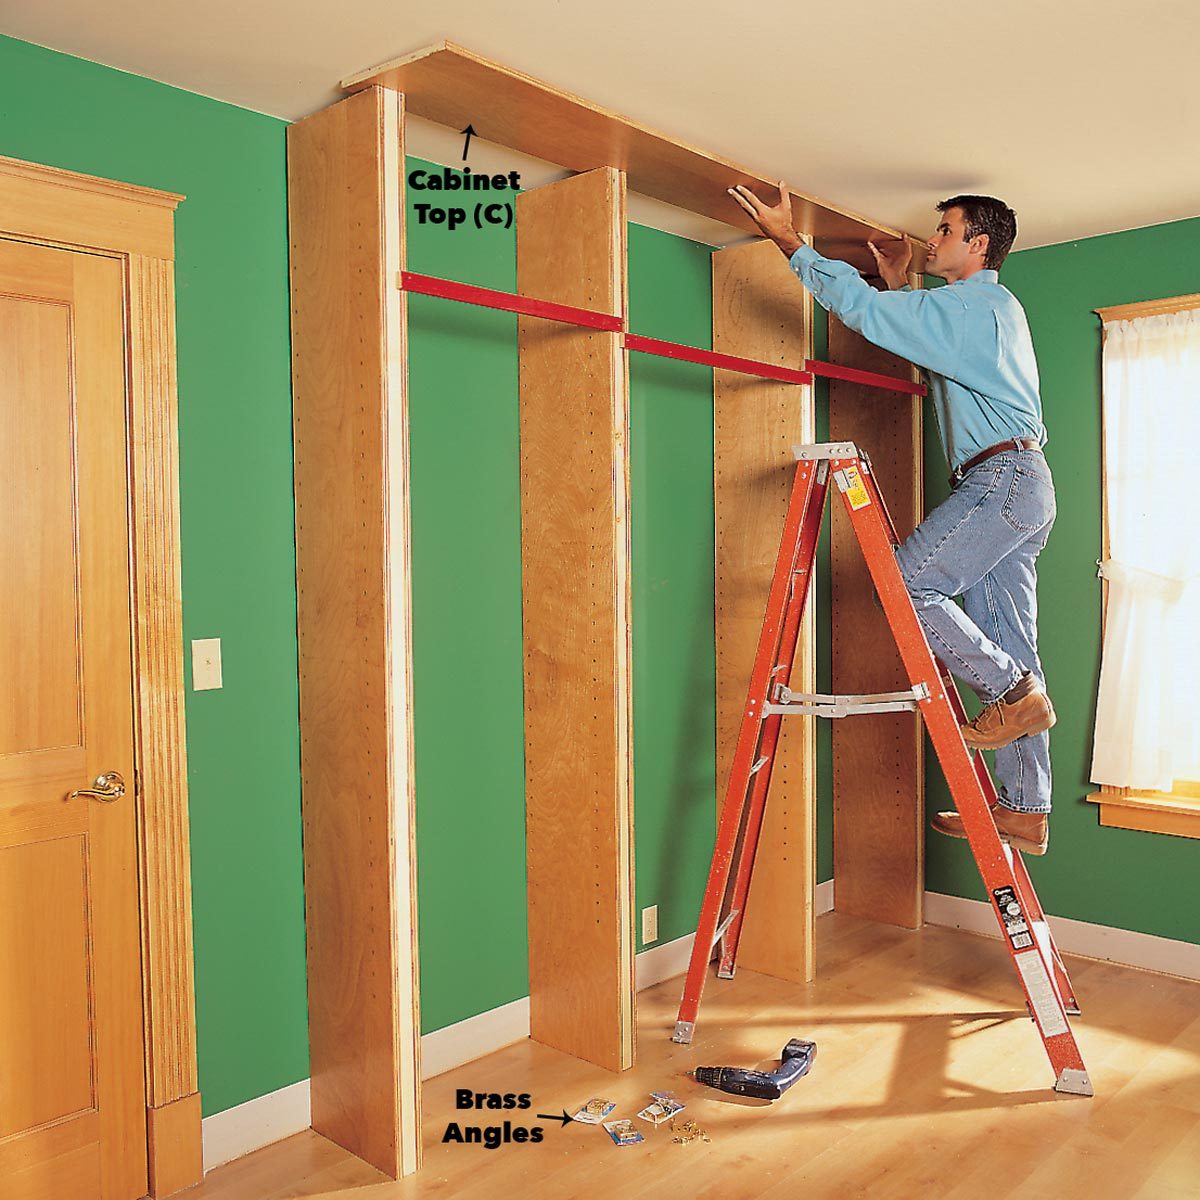
C. Installation: Carefully install the bookcase in its designated location. Use a level to ensure that it is plumb and level. Secure the bookcase to the wall studs for added stability, especially for taller units.
V. Advanced Techniques:
A. Dovetail Joints: For a truly professional look, consider using dovetail joints for the cabinet sides and shelves. This joinery method is strong and aesthetically pleasing.
B. Mortise and Tenon Joints: Another strong and traditional joinery method suitable for more advanced woodworkers.
C. Inlay Work: Add decorative inlay work to enhance the aesthetic appeal of your bookcase.
D. Custom Hardware: Source custom-made hardware to match your design aesthetic.
E. Integrated Lighting: Install LED lighting within the bookcase to highlight your books and create a dramatic effect.
VI. Troubleshooting and Tips:
- Pre-drilling: Always pre-drill holes before driving screws to prevent wood splitting.
- Clamping: Use sufficient clamps to ensure tight joints and prevent warping.
- Accurate Measurements: Double-check your measurements at every stage of the process.
- Patience: Building a floor-to-ceiling bookcase takes time and patience. Don’t rush the process.
- Seek Help: If you encounter difficulties, don’t hesitate to seek help from experienced woodworkers or online forums.
Conclusion:
Building floor-to-ceiling bookcase cabinets is a challenging but rewarding project. By following this comprehensive guide and paying attention to detail, you can create a stunning and functional addition to your home. Remember to prioritize safety, take your time, and enjoy the process of creating something beautiful and lasting. The pride of crafting a piece of furniture this impressive is unmatched. With careful planning and execution, your custom floor-to-ceiling bookcase will be a testament to your DIY skills and a focal point of your home for years to come.


