
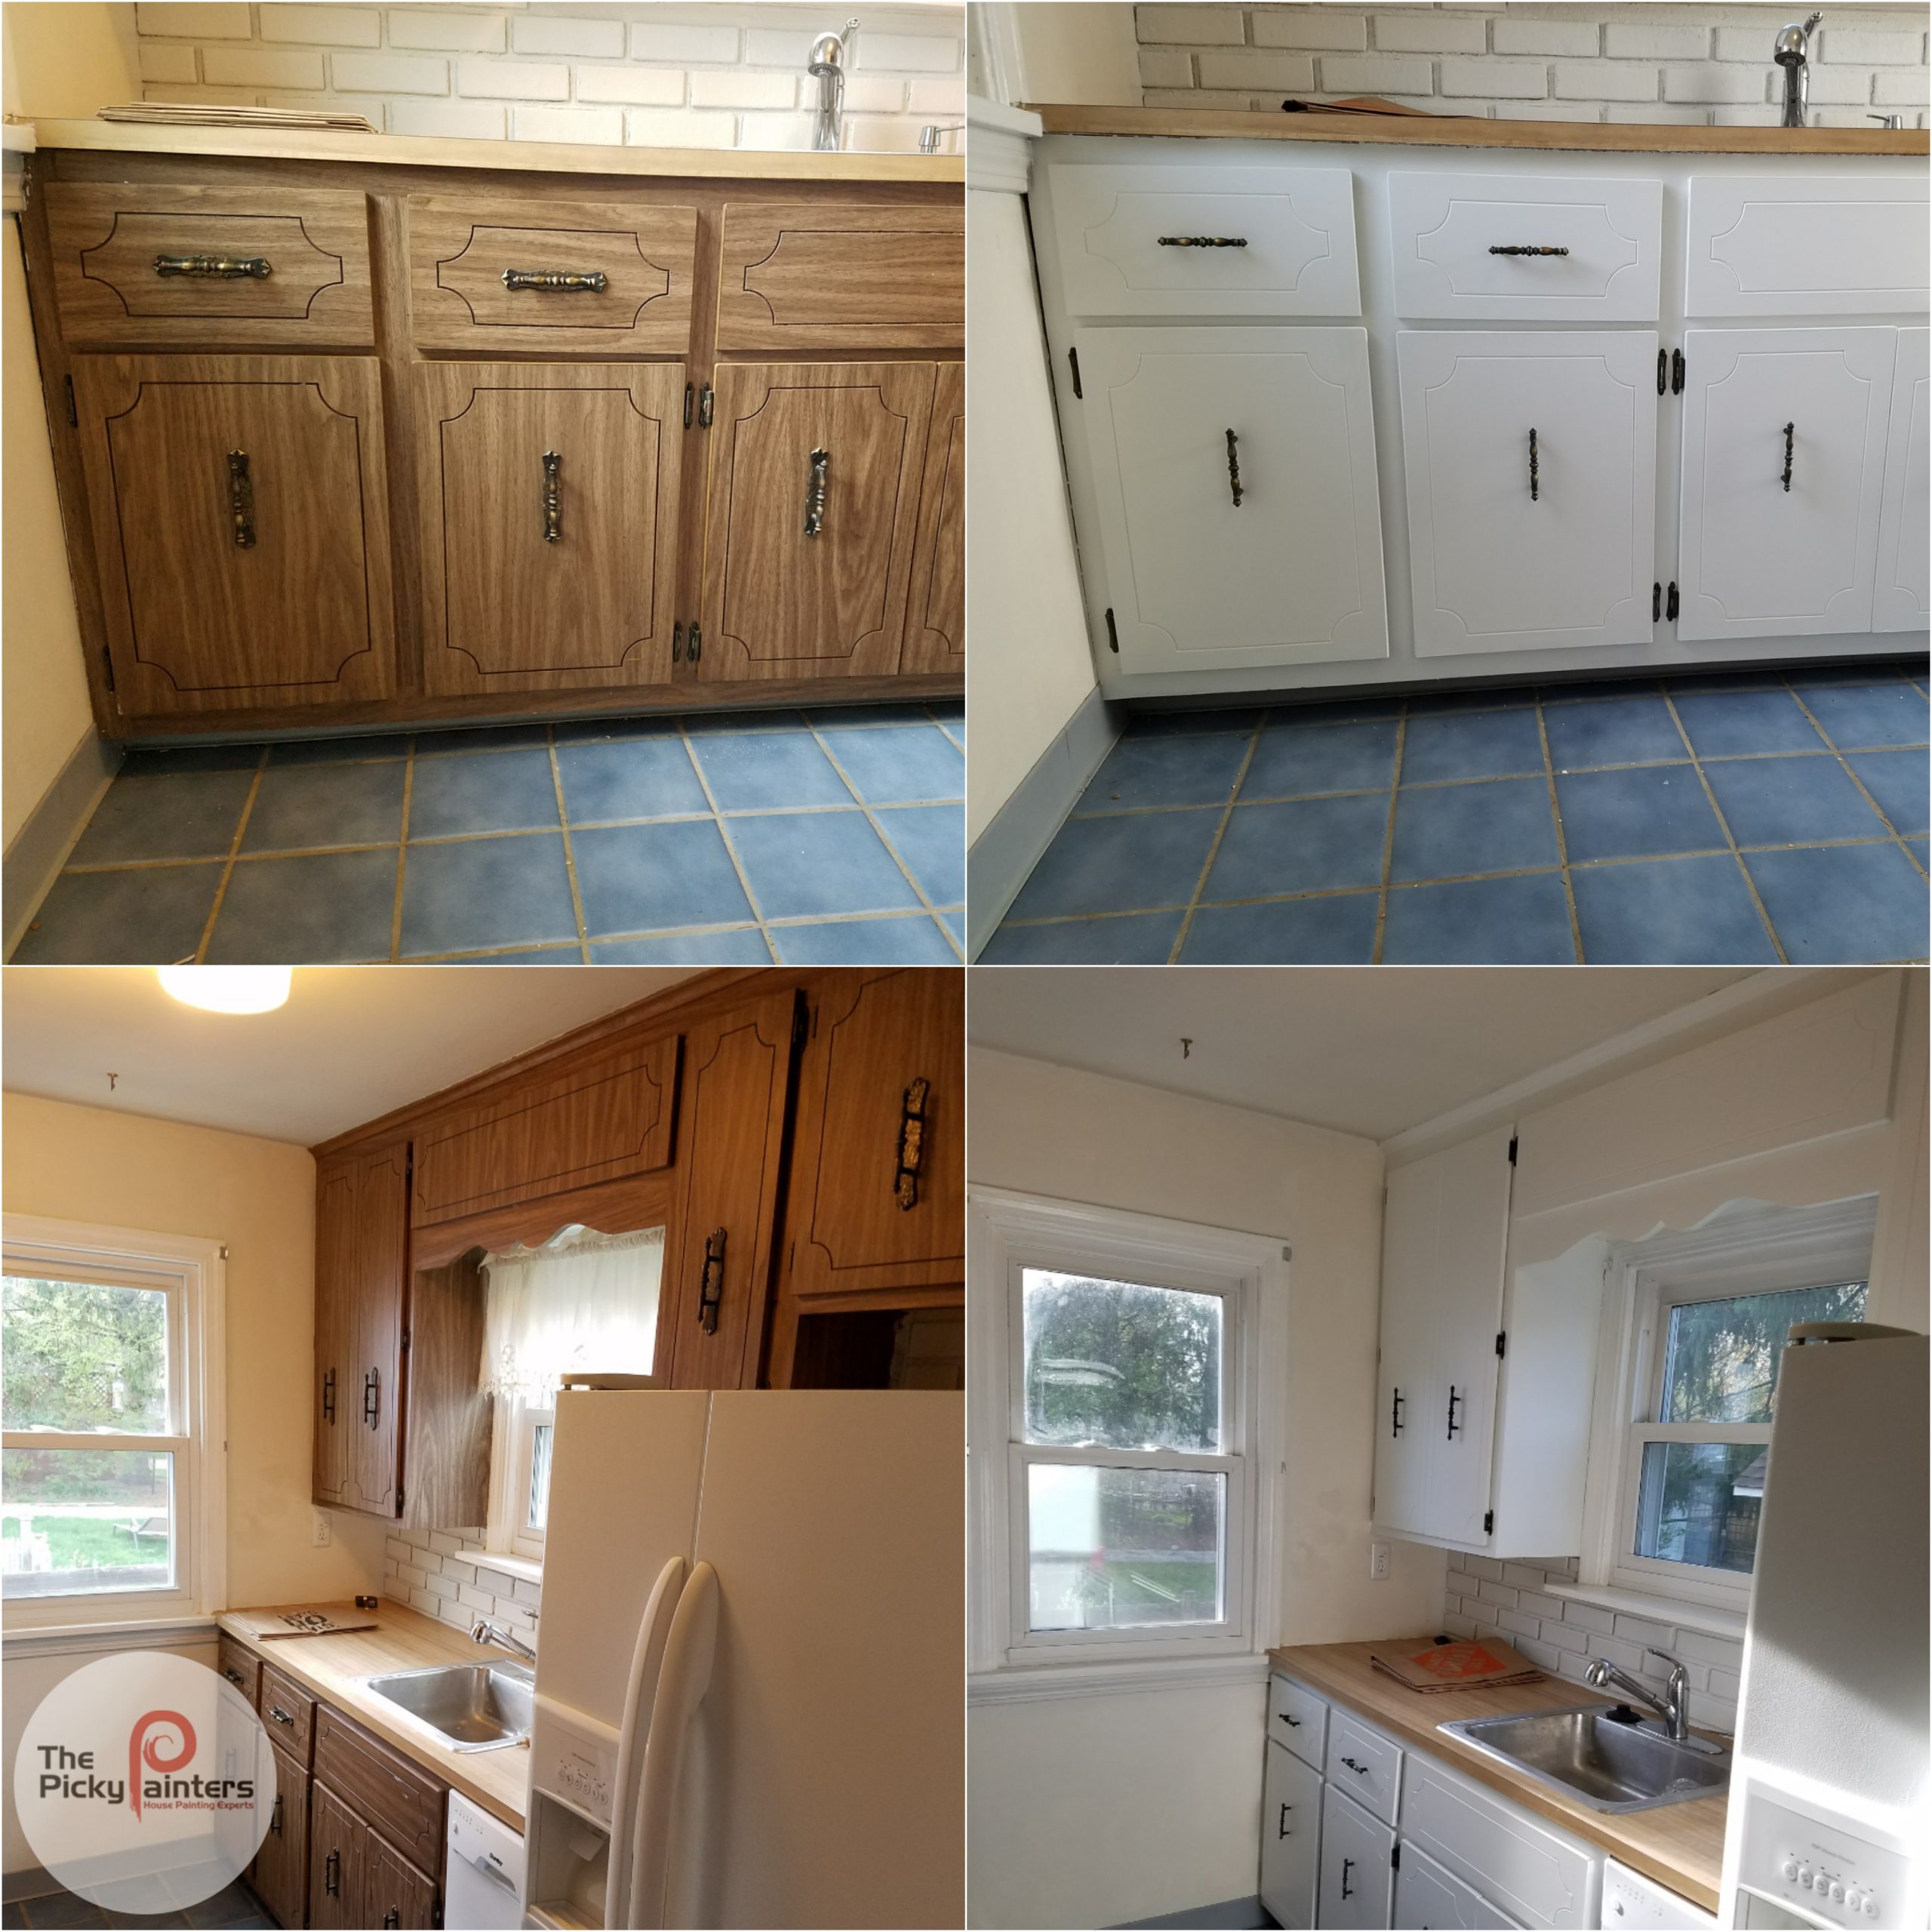
How To Paint Laminate Kitchen Cabinets Without Sanding

Learn how to paint laminate cabinets without sanding, achieving a professional finish with our expert guide. Includes tips, tricks, and the best products for a flawless, long-lasting result.
Keywords: paint laminate cabinets, paint laminate without sanding, painting kitchen cabinets, laminate cabinet makeover, kitchen cabinet painting, no-sand paint, best paint for laminate, how to paint laminate cabinets, refinishing laminate cabinets, cabinet painting tips, DIY kitchen makeover, easy kitchen update
Introduction:
Tired of your outdated laminate kitchen cabinets? A fresh coat of paint can dramatically transform your kitchen’s look and feel, adding value and personality without the hefty cost of a complete remodel. While the traditional method involves tedious sanding, painting laminate cabinets without sanding is entirely possible and offers a faster, less messy alternative. This comprehensive guide provides a step-by-step process, addressing common concerns and offering expert advice to ensure a stunning, long-lasting finish.
Table of Content
Why Choose Painting Over Sanding?
Sanding laminate cabinets is a laborious and dusty process. It requires significant time, specialized tools, and appropriate safety measures. The risk of damaging the laminate surface is also high, potentially leading to costly repairs or even cabinet replacement. Painting without sanding bypasses these challenges, making it a more efficient and user-friendly option for DIY enthusiasts and busy homeowners alike.
Understanding the Challenges of Painting Laminate:
Related Article How to paint laminate kitchen cabinets without sanding
- dark greige kitchen cabinets
- Blue Cabinets with Black Hardware: A Timeless Trend for Modern Kitchens
- Dark Cabinets Light Countertop: A Winning Combination
- Rustic Walnut Kitchen Cabinets: A Timeless Addition to Your Kitchen
- counters for white cabinets
Laminate presents unique challenges compared to wood. Its smooth, non-porous surface makes it difficult for paint to adhere properly. Without proper preparation, the paint may peel, chip, or blister, ruining your hard work. Therefore, selecting the right paint and primer is crucial for achieving a durable and attractive finish.
Essential Supplies for a Successful Paint Job:
Before you begin, gather these essential supplies:
- Degreaser: Removes grease and grime from the cabinet surfaces. TSP (trisodium phosphate) is a popular choice but always follow safety precautions.
- Tack Cloth: Removes dust and debris after cleaning.
- Primer: Specifically designed for laminate surfaces. Look for primers labeled "adhesion primer" or "bonding primer." These primers create a textured surface that helps the paint adhere better.
- Paint: Choose a high-quality paint formulated for cabinets and trim. Acrylic-alkyd or acrylic-urethane paints offer excellent durability and scratch resistance. Consider semi-gloss or satin finishes for easy cleaning and a beautiful sheen.
- Paintbrushes or Roller: Choose high-quality brushes or rollers designed for smooth surfaces. Foam rollers can leave texture, so natural or synthetic bristle brushes are often preferred.
- Painter’s Tape: Protects areas you don’t want to paint.
- Drop Cloths: Protects your floors and countertops from paint spills.
- Putty Knife: For filling minor imperfections.
- Sandpaper (Optional): Fine-grit sandpaper (220-grit or higher) can be used to lightly scuff extremely glossy surfaces, but avoid aggressive sanding.
- Safety Glasses and Gloves: Protect your eyes and hands.


Step-by-Step Guide to Painting Laminate Cabinets Without Sanding:
1. Thorough Cleaning:
This is the most critical step. A clean surface is essential for paint adhesion. Begin by removing all cabinet doors and hardware. Clean the cabinets thoroughly with a degreaser, following the manufacturer’s instructions. Pay special attention to handles, hinges, and any crevices where grease and grime may accumulate. Rinse thoroughly with clean water and allow the cabinets to dry completely. Use a tack cloth to remove any lingering dust particles.

2. Repairing Imperfections:
Inspect the cabinets for any chips, cracks, or scratches. Use a high-quality wood filler or epoxy putty to fill these imperfections. Allow the filler to dry completely and then lightly sand it smooth with fine-grit sandpaper, ensuring a seamless transition.
3. Applying the Primer:
This is where the magic happens. Choose a high-quality bonding primer specifically formulated for laminate surfaces. Apply a thin, even coat using a brush or roller, working in the direction of the wood grain (if visible). Allow the primer to dry completely according to the manufacturer’s instructions. For optimal adhesion, consider applying two thin coats rather than one thick coat.
4. Painting the Cabinets:
Once the primer is completely dry, you can start painting. Apply thin, even coats of your chosen paint, working in the direction of the wood grain. Allow each coat to dry completely before applying the next. Two to three coats are usually sufficient for full coverage and a rich, even finish.
5. Reinstalling Hardware:
Once the paint is completely dry (allow at least 24 hours), reinstall the cabinet doors and hardware. Ensure that all hinges and handles are securely fastened.
6. Final Touches:
Inspect your finished work for any imperfections. If needed, you can lightly sand any drips or imperfections with fine-grit sandpaper and touch up with paint. Consider applying a clear coat of sealant for added protection and durability.
Choosing the Right Paint and Primer:
The success of your project hinges on selecting the right paint and primer. Look for products specifically designed for laminate surfaces. Read reviews and compare different brands to find the best option for your needs. Consider the following factors:
- Adhesion: The primer must provide excellent adhesion to the laminate surface.
- Durability: Choose a paint that is resistant to chipping, scratching, and fading.
- Finish: Select a finish that complements your kitchen’s style and offers easy cleaning. Semi-gloss and satin finishes are popular choices for kitchen cabinets.
- VOC Content: Consider choosing low-VOC (volatile organic compound) paints to minimize harmful fumes.
Advanced Techniques for a Professional Finish:
- Back Brushing: This technique involves using a smaller brush to work the paint into crevices and corners, ensuring complete coverage.
- Wet-on-Wet Blending: This technique helps to avoid visible brush strokes by blending wet paint with wet paint.
- Multiple Thin Coats: Applying multiple thin coats is always better than applying one thick coat. This allows the paint to dry evenly and prevents drips and runs.
Troubleshooting Common Problems:
- Peeling Paint: This often indicates inadequate cleaning or priming. Ensure the surface was thoroughly cleaned and primed before painting.
- Uneven Finish: This can be caused by uneven paint application or using a low-quality brush or roller. Use a high-quality brush or roller and apply thin, even coats.
- Brush Strokes: Avoid brush strokes by using a high-quality brush, applying thin coats, and using the wet-on-wet blending technique.
Maintaining Your Painted Laminate Cabinets:
Proper maintenance will help your painted cabinets last for years to come. Avoid using harsh abrasives or chemicals when cleaning. Use a damp cloth and mild detergent to wipe away spills and dirt. Regular cleaning will prevent buildup and maintain the beauty of your newly painted cabinets.
Conclusion:
Painting laminate kitchen cabinets without sanding is a feasible and rewarding DIY project. By following these steps and choosing the right products, you can achieve a professional-looking finish that transforms your kitchen without the hassle and mess of sanding. Remember, patience and attention to detail are key to a successful outcome. With a little effort and the right techniques, you can enjoy a stunning kitchen makeover that will impress your family and friends for years to come.


